I’m currently pregnant with our first baby girl! (Set to arrive in 2 weeks or less!) Which means all the bows! Our first is a little man and though he is stinking cute, I’m kind of limited on fun accessories. And girls are kind of more fun to sew for….
So, I’ve been making little headbands to go along with with most of the things I’ve been making baby girl. It’s super basic/easy, so I’m sure you will easily be sewing up a ton in no time!
I basically just cut out a rectangle and sew it together. I like mine around 3” thick. Depending on your preference, you can make them thinner or thicker. Once baby girl gets here, I may decide I hate 3”…BUT we will cross that road when we get there!
APPROXIMATE HEADBAND CUT MEASUREMENTS BASED ON DBP (LXW)
Greatest stretch should go with the LENGTH.
Newborn: 21.5” x 6.5”
0-3m: 23“ x 6.5”
3-6m: 24“ x 6.5”
6-12m: 25“ x 6.5”
12-18m: 25.5“ x 6.5”
According to google, a newborn’s head is around 14”. My son’s head, at a year, was around 19”, but girls tend to have slightly smaller heads than boys.
If you are making a headband in DBP (double brushed poly) or other fabric with similar thickness and stretch, a good rule of thumb is to add 7.5” in length to the head circumference (or 7” plus your seam allowance). For fabrics that are thicker like CL (cotton lycra), you may need to add up to an additional 3” since the knot will be much thicker.
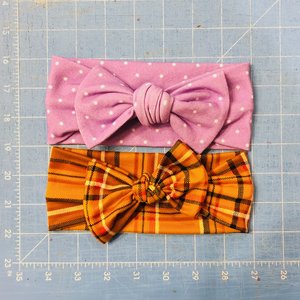
You can see here in this picture that the headband portion is the same length once tied but the bow/knots are totally different. The yellow plaid is a DBP sewn at the NB measurement. The polka dots is Club Jersey from Raspberry Creek Fabrics (comparable to a thicker CL) but sewn at the 0-3m measurements.
You also may want to adjust the length depending on how long you want your bow/knot tails to be. I don’t like mine to be much longer than 2” because then they get a little bit floppy on the fabrics with less structure (aka: DBP) and I just think it looks perfect at that length! Though, the perks of making these longer is you can retie the knot to make the headband longer or shorter in order to fit baby’s head longer.
You also may be able to fit the NB size for a while, so it’s not like you’d have to make one in every size. It’s just an approximation and honestly, it just depends on your fabric.
**Another thing to keep in mind! If you want your headband width wider or more narrow, you will most likely have to alter/adjust the length since the knot will be bigger or smaller.
FABRIC
Speaking of fabric, you definitely want something with at least 4-5% spandex/Lycra content, or 40-50% stretch. (You can definitely use fabric with more or less stretch.) If the recovery sucks, it’s going to stretch out. You want a combination of really good stretch plus really good recovery (especially for longer wear). I’ve made a handful of these out of DBP and CL and they work great! Liverpool doesn’t have as much stretch, so those ones won’t last as long as the DBP. I’ve also made one from a CL that had great stretch but not so great recovery, so I actually had to shorten the length a bit.
INSTRUCTIONS
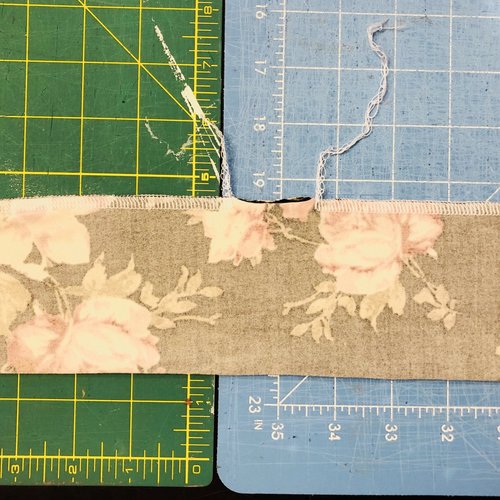
Once you cut out your fabric, sew the LONG edges RST (right sides together) with a serger/overlocker or a stretch stitch. You will need to leave an opening that is approximately 1.5” in length somewhere along the long edge for turning.
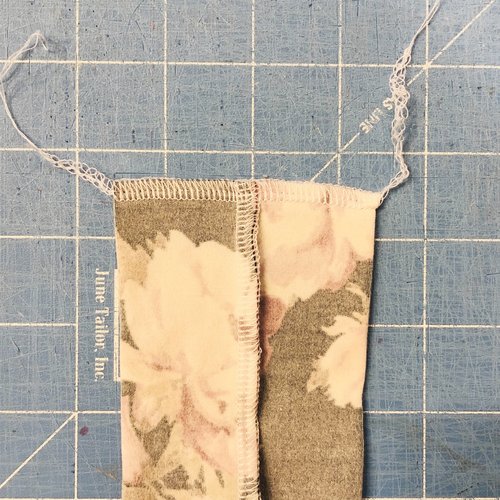
Sew the two short edges together with the seam you just sewed in the middle.
3. Turn your fabric right side out. (Here, you can tie your knot and check the fit. If it’s too long, you will want to fix it now.)
4. Once the length is what you like, hand-stitch the opening closed.
5. Tie your knot and you’re done! <3 Boom!
If you have any questions, let me know! If you make some of these, tag me on instagram! <3