Sew A Little Seam – Constance Sweater Maternity Hack


Welcome to my sporatic little life
2 Comments
Kim Peppercorn
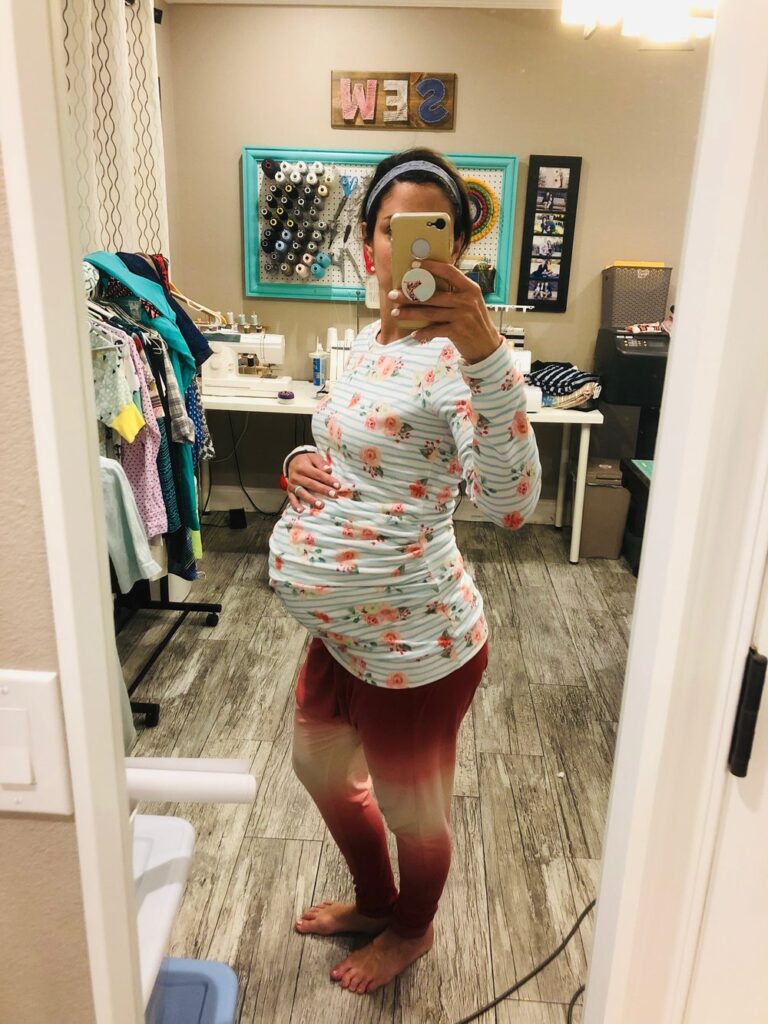
But what are those darling lounge pants? Maternity?
Trissa Marie
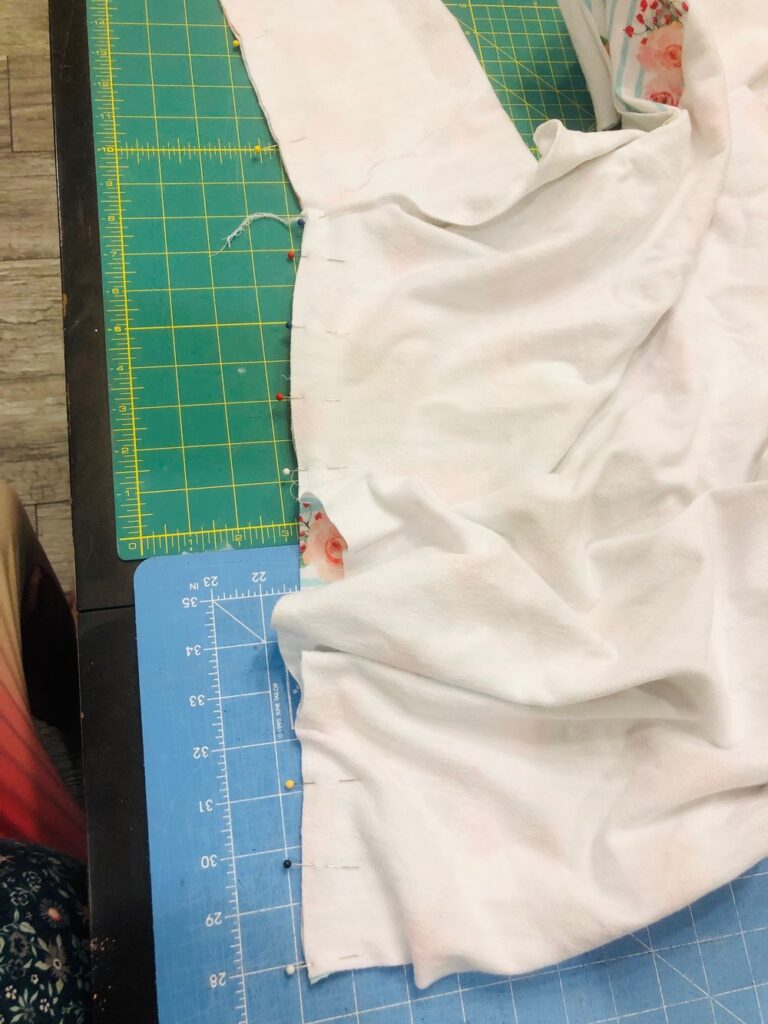
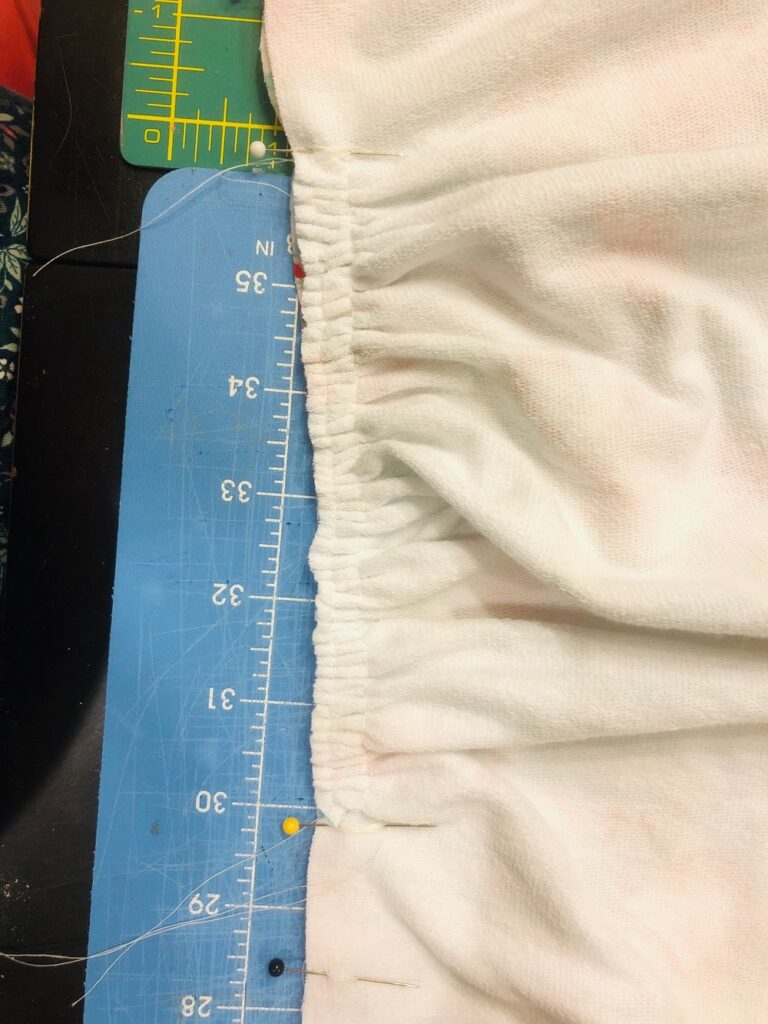
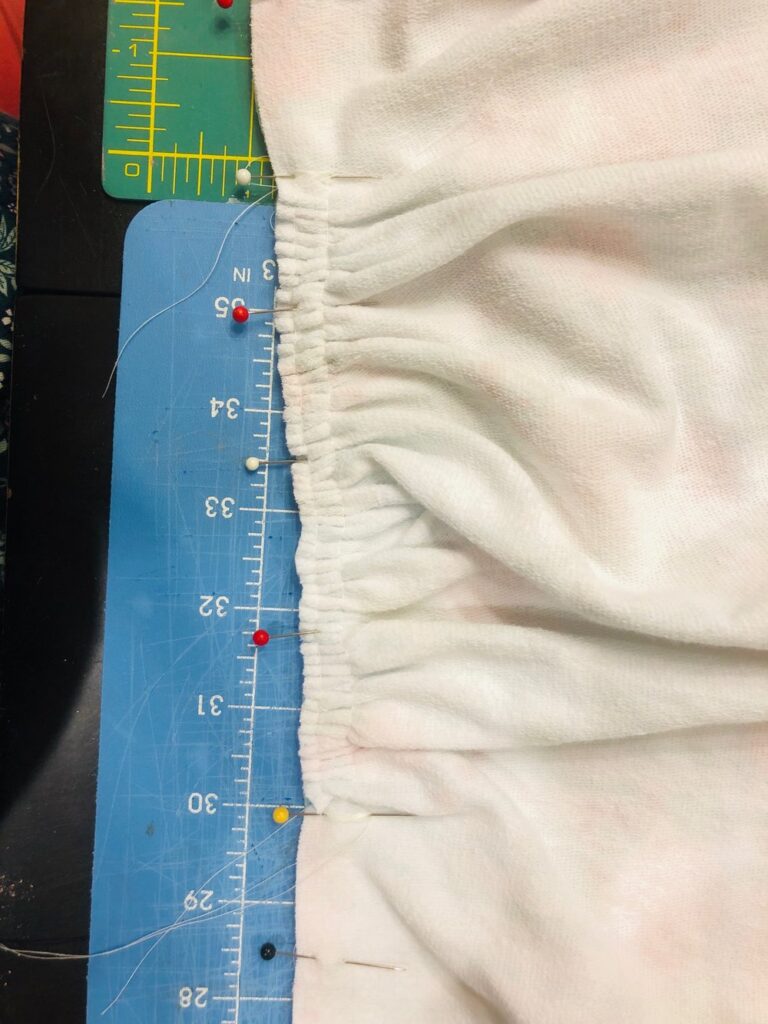
They are maternity! They are the Rad Pattern So-Over-it-all’s that I hacked into shorts, skipped the bib and added the waistband to fit 2” elastic.