Rad Patterns – So Over-It-Alls

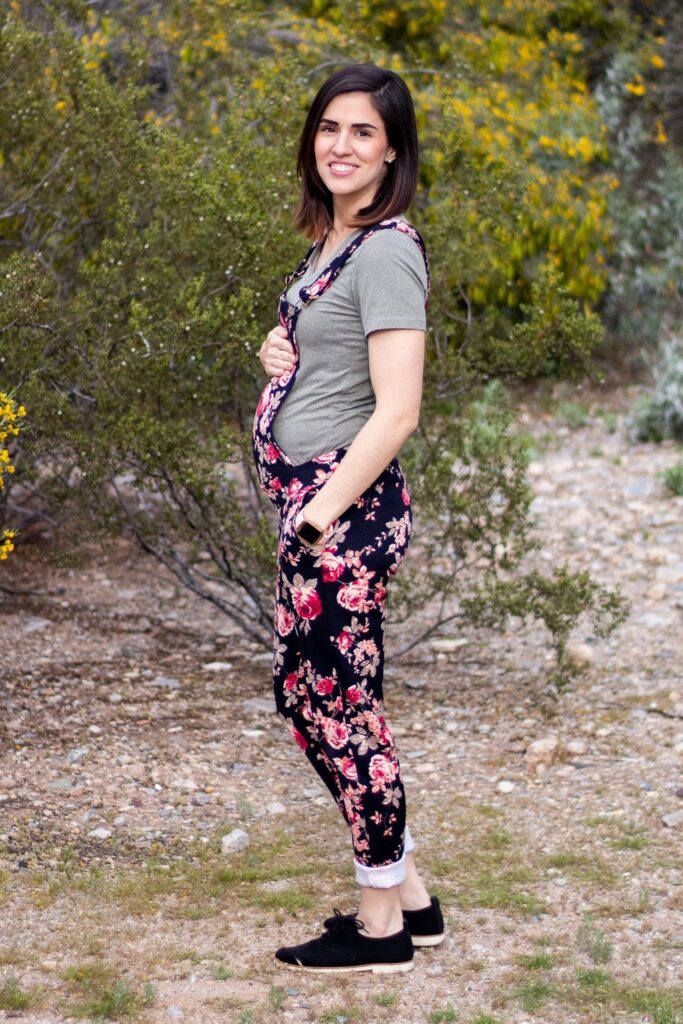
I seriously have been dying for overalls and I was super excited when Rad Patterns started testing the So Over-It-Alls! I totally had to jump on that! They come in size XXS-4X and look oh so good on every size! They have 3 lengths- shorts (3.5” inseam), ankle and long. The straps are fixed, but if you are pregnant, I suggest making them longer so they can be adjustable as that bump grows. And guess what? They are on sale for a few more days! Sale ends Saturday, March 16th!

These overalls are more of a relaxed/“boyfriend” fit. If you are at the bottom end of a size, you could get away will sizing down as long as your fabric has a little more stretch. Keep in mind also with the waistband. You don’t want that to be too snug, especially with the knit interfacing! (The overalls I made had plenty of thickness and structure, so I didn’t use interfacing. My knit interfacing also made my waistband not stretchy enough, so I skipped it. Very possible I didn’t have the right knit interfacing…)

This is not a super difficult pattern, but the strap connection to the back can get a little tricky. If you are OCD or a perfectionist, don’t be surprised if you want to rip out some seams to get that point as close as you can to perfect! I definitely did! hah

MY ADJUSTMENTS!

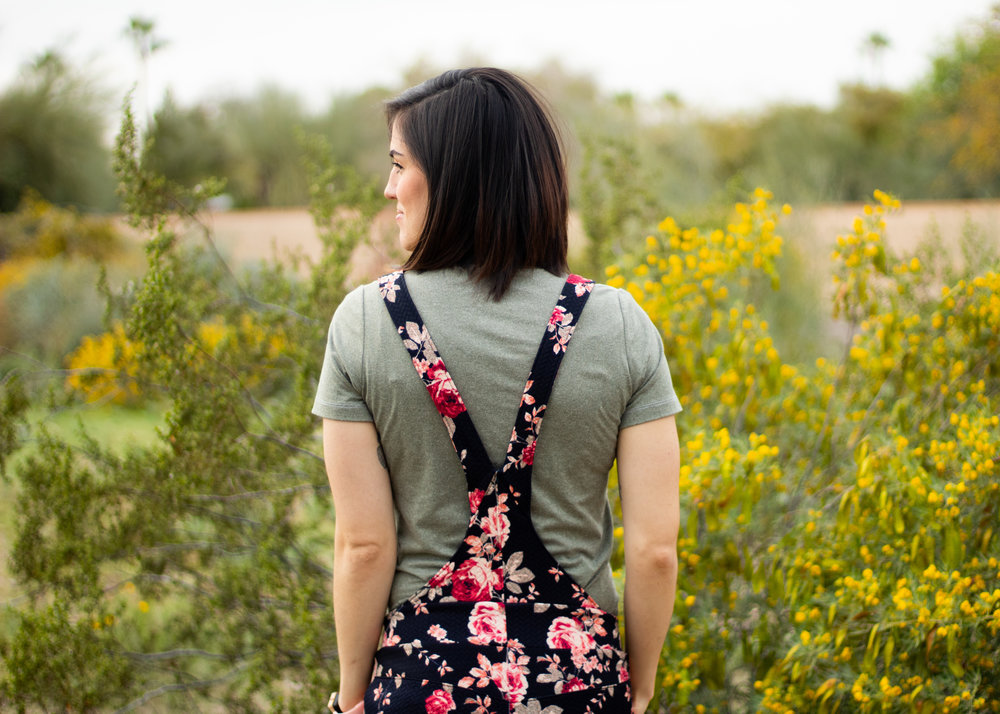
STRAPS: Firstly, since I’m pregnant I cut out the largest size strap so I could make it adjustable. (I print the A0 size, so I just traced the whole thing!)

  • If you are making your straps adjustable, you can sew the top of your straps together, so the ends are finished when you flip your straps right-side-out. The non-adjustable straps skips this in case you need to trim your straps before you stitch them in place.

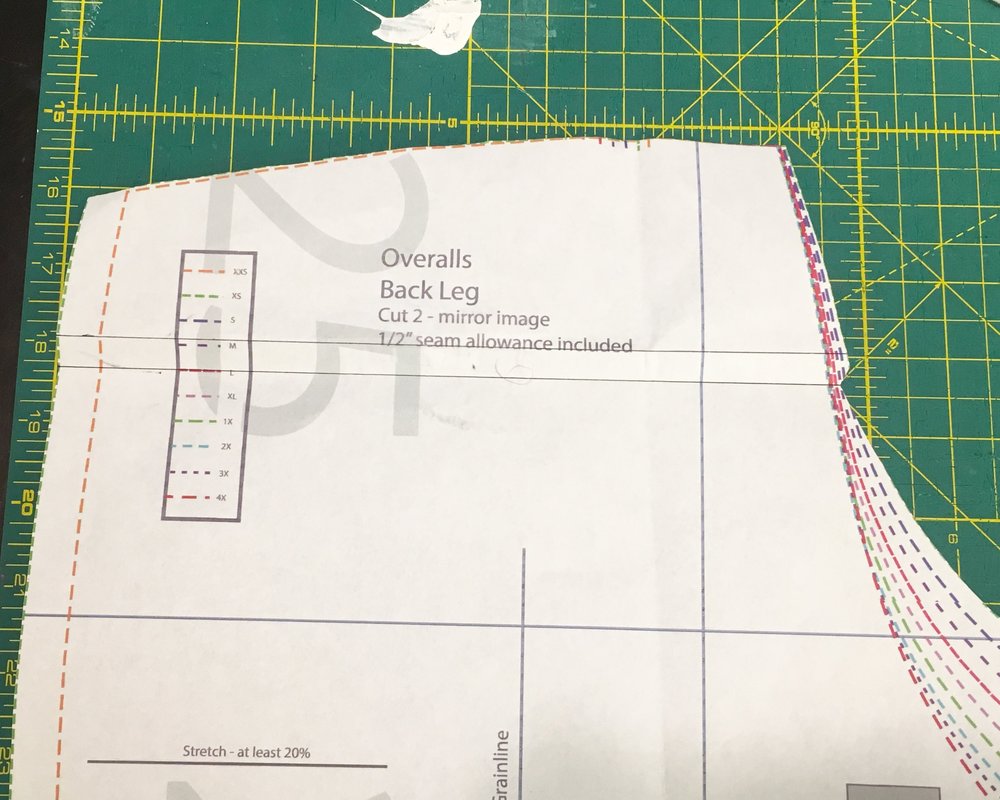
BIB: Again, since I’m pregnant, I cut the bib about an inch longer. If you are further along in your pregnancy, I suggest cutting it even longer to account for that big ol bump, especially with fabric that doesn’t have any vertical stretch. So if your fabric does have good vertical stretch, it will stretch around that belly a little more and it might not need to be lengthened as much.

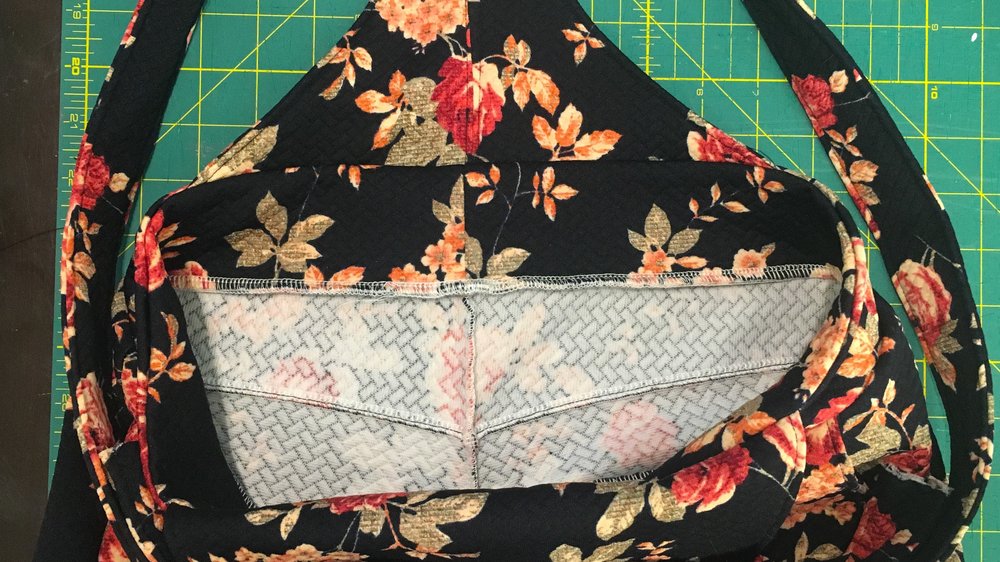
I also like to line the bib fully, so cutting out 2 bib pieces. However, I still used the bib facing for the interfacing and interfaced the top of the lining side of the bib.

CROTCH RISE:

For my personal preference, I took about an inch out of the crotch rise on both the front and back (You have to do both so the side seams will match properly!) I just made a line across the pant leg front piece (under the pocket!) to fold on and then a line about 3/8” above (one line to fold up and the other to fold down to kind of “fan” the page instead of cutting and overlapping the pages). This shortened the front rise by 3/4”. I did the same thing to the back. You will have to blend the crotch curve just a tad and slightly on the side seams where you made your adjustments. You can do this same thing more or less, depending on how much needs to be taken out of the rise. If you are on the taller end, you won’t need to worry about this. I am 5’4” and prefer a more low-rise fit. This also brought the bottom of the bib to sit a little lower under my belly.

BACK YOKE:

I also shortened the back yoke slightly, but i just made the top of the yoke (the part that will eventually be sewn to the waistband) straight across instead of curved. This helped to bring the waistband lower for my personal preference.

Totally not necessary!

FINAL WAISTBAND ATTACHMENT:

Maybe it’s because I’m lazy, but I did not enclose the top of the pants inside the waistband. I just pretended like my 2 waistbands were one piece and just sewed them to the top of the pants like you would any other waistband. The top of the waistband is enclosed (which is most important anyway) but no one is going to see the inside of my overalls except me!

SO OVER-IT-ALLS SHORTS ONLY HACK

So, the overalls are totally amazing in all their glory, but leaving off the bib/straps turns them into the perfect maternity underbelly bottoms! (I’ve only made the maternity version so far but I’m sure the non-maternity bottoms only is equally as amazing) I’ve made 2 pairs already and have a few more planned. I’m obsessed! It’s super easy to do as well. The only thing I did differently was cut one waistband piece instead of 2 and made it a little taller…5”tall to be exact. This was to account for the 1/2” seam allowance and to encase my 2” elastic! (still need to add elastic to the green pair!). For the knee length, I cut them 14″ down from the start of the crotch.

I also don’t wear short shorts, so I cut them to be knee length with a few folds at the bottom. LOVE THEM. I will have loads of these as well as the full overalls filling my closet soon enough! I still want to make a pair of pants, I just haven’t cut out my fabric for that yet! (Don’t mind my messy sewing room selfie pictures haha)

Here is my favorite So Over-It-Alls! In some lovely quilted knit from So Sew English Fabrics. (Unfortunately, there was a limited stock and there isn’t any left! I wish I snagged a little more!) Liverpool is definitely pretty close to the same fabric content/feel except the right side of these has a quilted look to it.

  • This fabric was fairly thick with great structure, so I skipped interfacing on everything except the bib interfacing.

I also have some ponte coming in the mail any day from Raspberry Creek Fabrics and I’m itching to cut into it!

I can’t wait to see your overalls! And don’t forget to enter into the #sewbibs sewing challenge on instagram! You just have to sew up something with a bib! Overalls, pinafores, dungarees…and be sure to use the hashtag #sewbibs. Look through the hashtag to find inspirational blog posts, giveaways, discount codes and participation prizes! Contest runs until April 12th, so get sewing! (See full details via any of the 3 hosts!)

Cheers!

2 Comments

Leave a Reply

Your email address will not be published. Required fields are marked *

Never miss a post!

Subscribe via email and receive new posts right to your inbox.