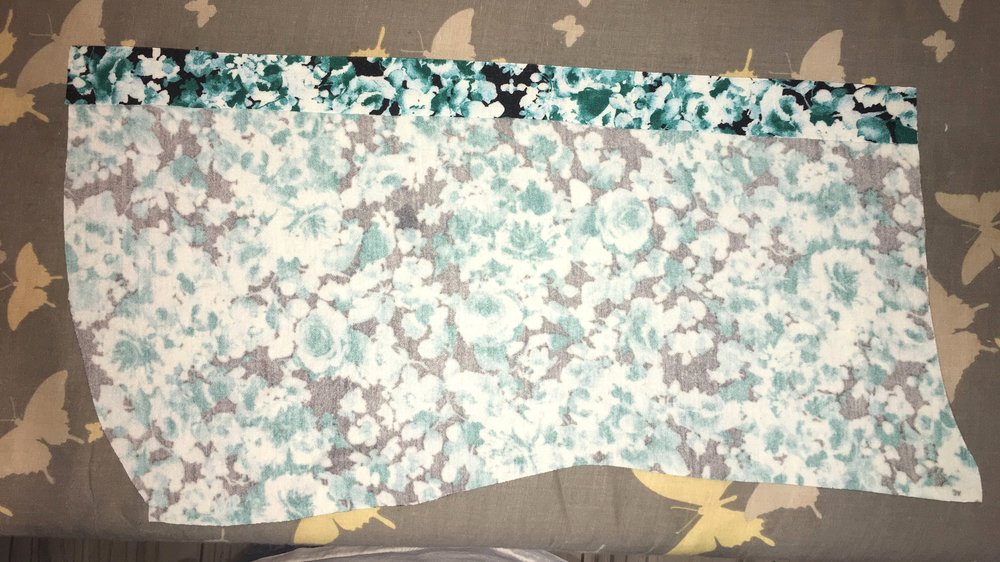
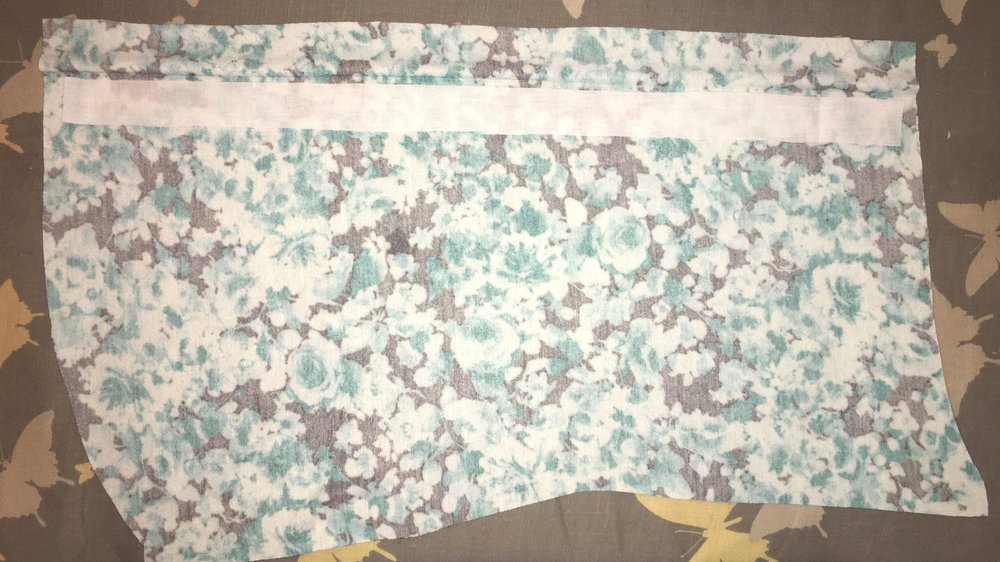
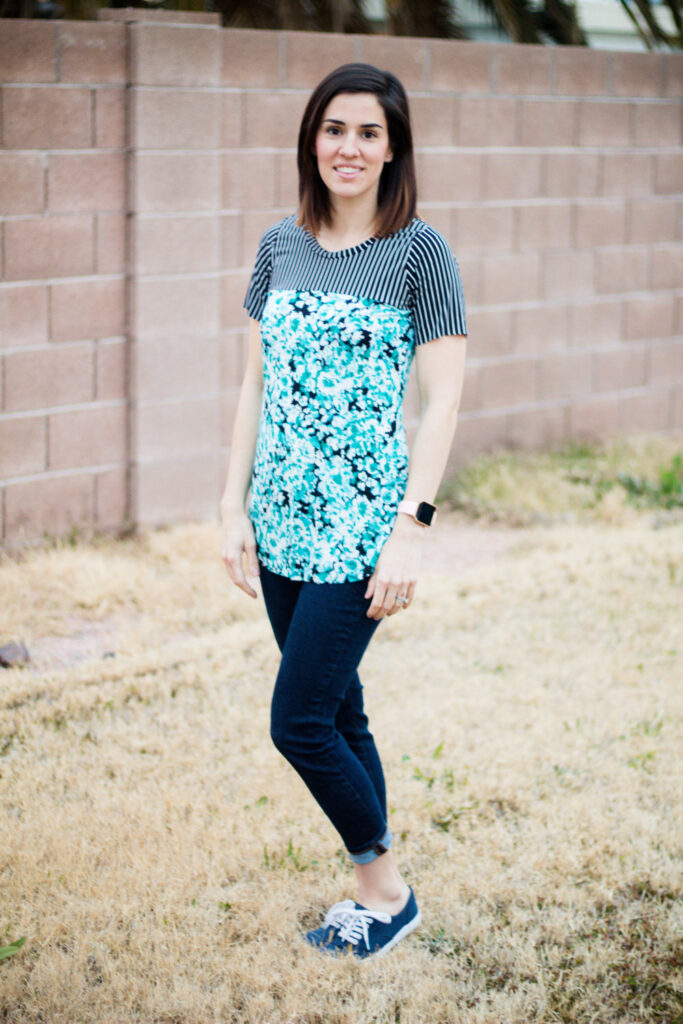
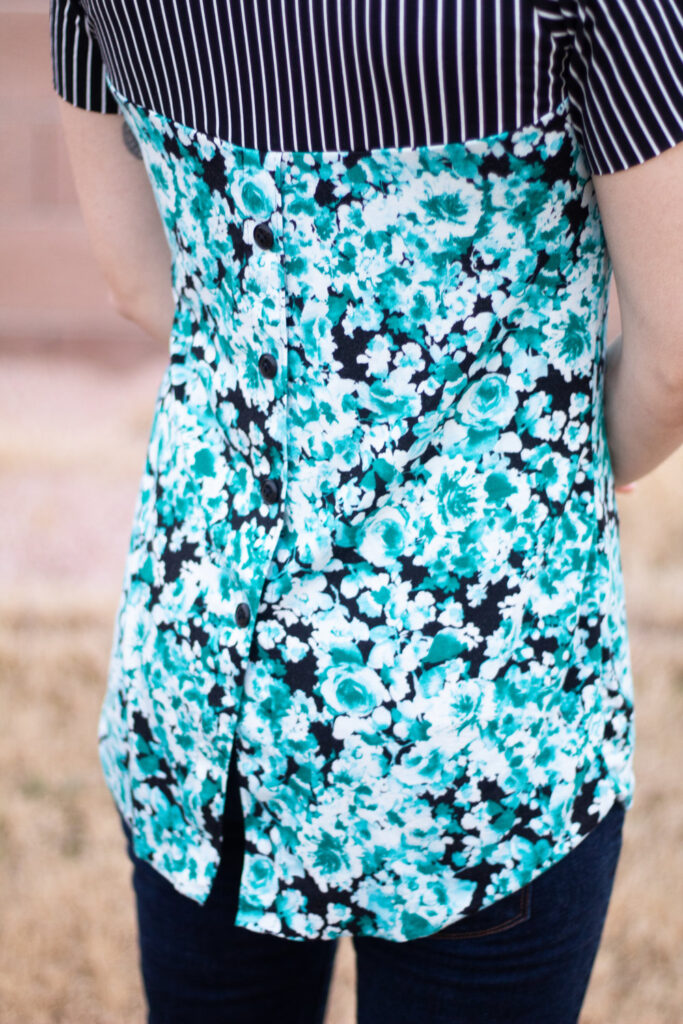
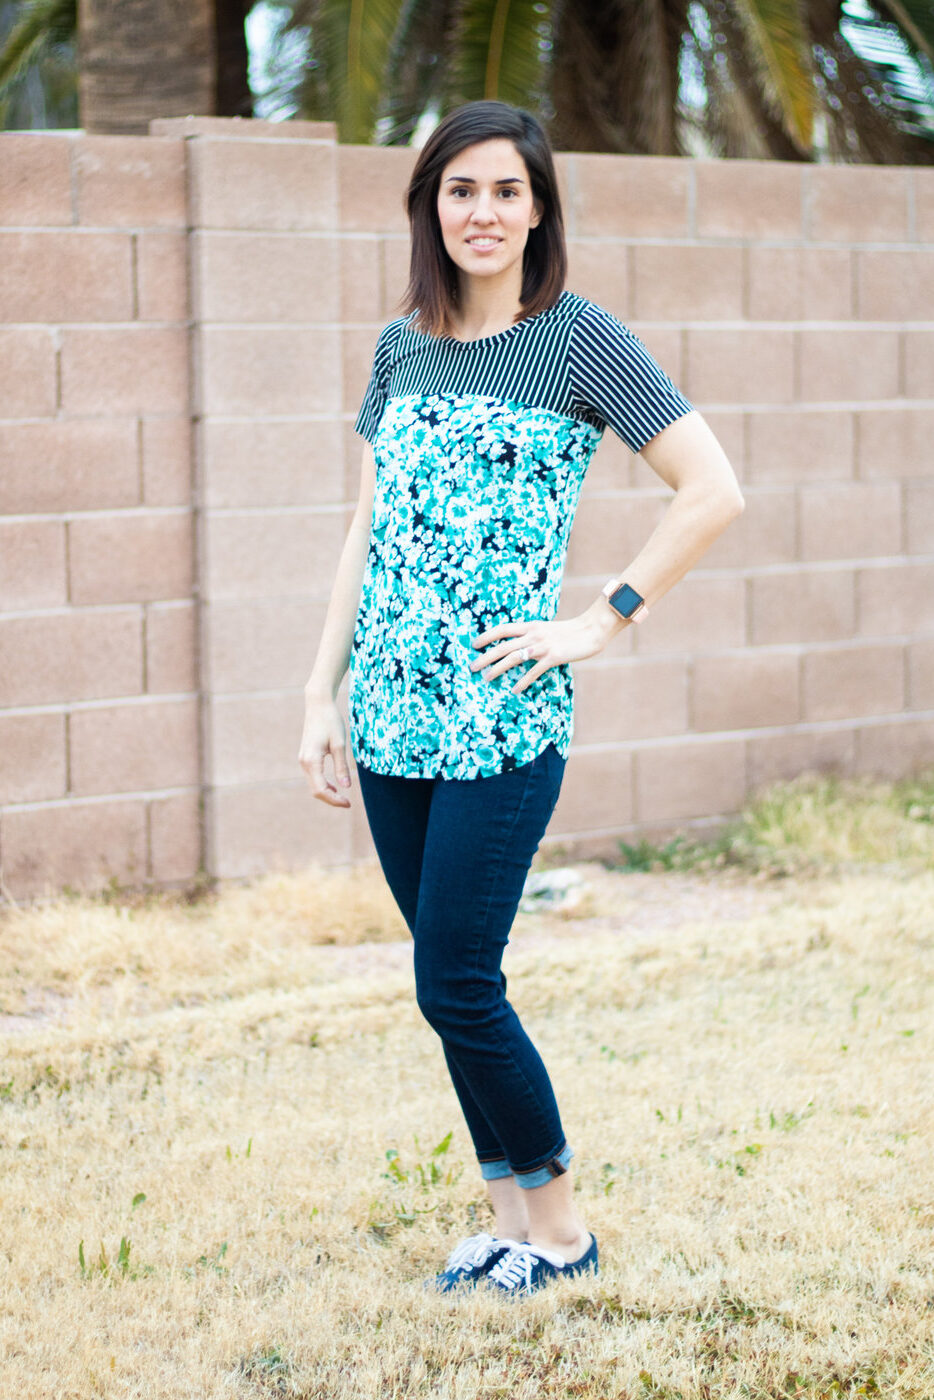
Ellie and Mac – Women’s Poppy

Let me tell you, strep sucks! We found out Max had a double ear infection last week on Tuesday and then Wednesday night I started feeling like I was getting sick. With my amazing luck, I woke up the next morning with strep! I was on my deathbed for the next few days. I was barely able to finish my final for the test! But I did it! And Max and I are both feeling a million times better.

Anyway! Ellie and Mac recently released the Women’s Poppy Top. This top is super cute! It’s more or a relaxed fit that isn’t too tight or too loose. It’s a perfect “in the middle”. It comes in short and long sleeves with a super cute button placket up the back. (Note: The entire side at EAM is currently 40% off through the rest of January!)

The best part about this top is you technically don’t even need to worry about buttonholes. The buttons don’t need to ever be unbuttoned, so if buttonholes aren’t you jam, you can totally skip it. I did and it looks the same! I also figured out how to sew buttons on my sewing machine! I’m sure there is a special foot that will make it even easier, but I didn’t look for that. I basically just set my stitch length to 0 and used a zigzag stitch to fit in the holes in the button. Boom! Worked like a charm! (I tried sewing on buttons before when I first started sewing, but for some reason, I never thought to have my stitch length be zero. Oops!)

The only did a few things different from the instructions. First, the button placket interfacing placement. Instead of ironing it on the flap that is folded over to the back, I ironed the flap first and ironed on my interfacing to the main bodice fabric, ironing on the interfacing 1/4” from the fold line instead of the raw edge. I did this because it seems to be a lot easier (and prettier!) to topstitch the placket with the interfacing ironed on here instead. I did my first version the other way and it didn’t look as pretty. (Or it could be from using someone else’s sewing machine because we were out of town, but still). Make sure you press your fold like well after interfacing has been added.

Also, when you are topstitching the placket, make sure the top of your box is inside the seam allowance (if you don’t want the top line to be shown).

The second thing I did was hemmed the entire bottom instead of hemming each bodice piece before sewing the side seams up. A curved hem can be very tricky, but you just have to press the hem well before stitching. However, if you hem first per the instructions and used a serger, you will need to finish off your serger tail at the bottom side seams (i.e. tying a knot or threading the tail back through the stitches about an inch.)

I really like the fit of this top and the colorblocking and placket make it fun and different. The main downside is I’m pretty sure the inside shoulder seams haven’t been trued, so you may end up cutting off a little fabric on that spot when attaching your neckband.

Remember how I said I was on my deathbed last week? That’s my excuse for these pictures not being the greatest. AND it was cloudy basically all weekend (if you have any photography experience, you know this is the worst thing ever for good outdoor shots!). Thank goodness for my ameture editing so I could make the coloring a tiny bit better! And please ignore that I look super tired. 🙂

FABRIC!

The black and white striped fabric is DBP from Raspberry Creek Fabric. It actually was supposed to be horizontal stripes, but it switched to vertical stripes halfway through the bolt, so I got vertical! (Totally fine by me!) And the floral…. I honestly have no idea where it’s from. I’m 89% sure it’s from So Sew English Fabrics though.

My sewing mojo has definitely been a little off. January is almost over and I’ve only sewn 2 things! I’m planning on straightening up my sewing room before I do anymore major sewing and then it will be time to start sewing through my stash! Let’s go!

Happy sewing!

Cheers!

Leave a Reply

Your email address will not be published. Required fields are marked *

Never miss a post!

Subscribe via email and receive new posts right to your inbox.