Brindille & Twig – Reversible Harem Romper (No.85) Hack
I also don’t wear short shorts, so I cut them to be knee length with a few folds at the bottom. LOVE THEM. I will have loads of these as well as the full overalls filling my closet soon enough! I still want to make a pair of pants, I just haven’t cut out my fabric for that yet! (Don’t mind my messy sewing room selfie pictures haha)
MATERIAL!
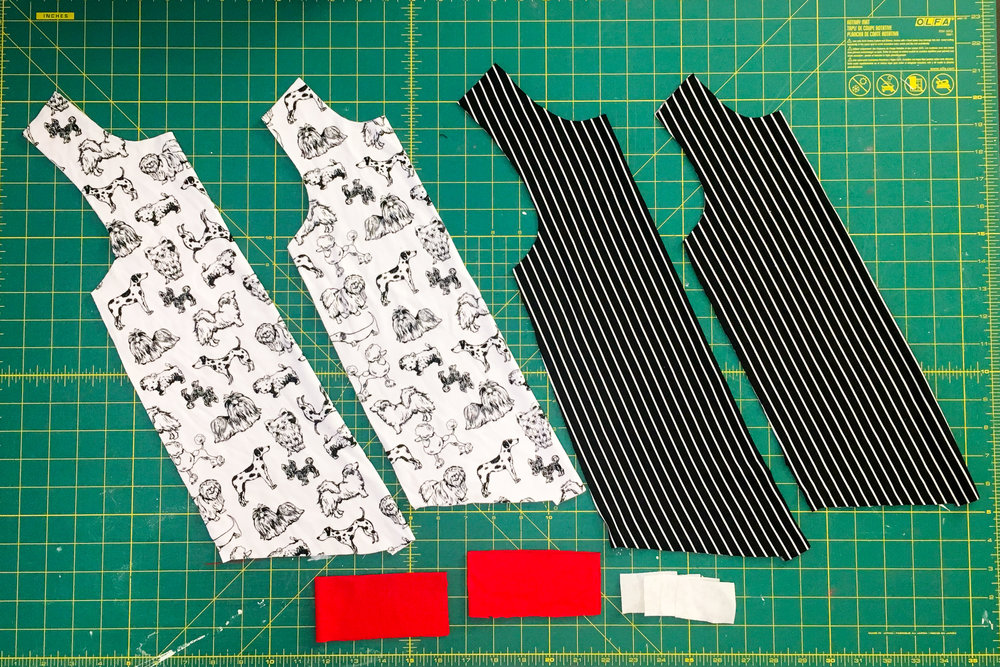
Front and back in your main fabric
Front and back in your “lining” fabric (since it’s going to be reversible, it’s technically not lining but it will be less confusing, so the second main fabric we will call lining)
2 cuffs/bands (I typically like to use cotton lycra for all my cuffs and bands)
Interfacing for your snaps or 4 small pieces of woven fabric
4 sets of snaps (4 male and 4 female)
Instructions
1. If you are using iron-on interfacing, go ahead and iron those onto the top of the straps as indicated in the romper pattern instructions.
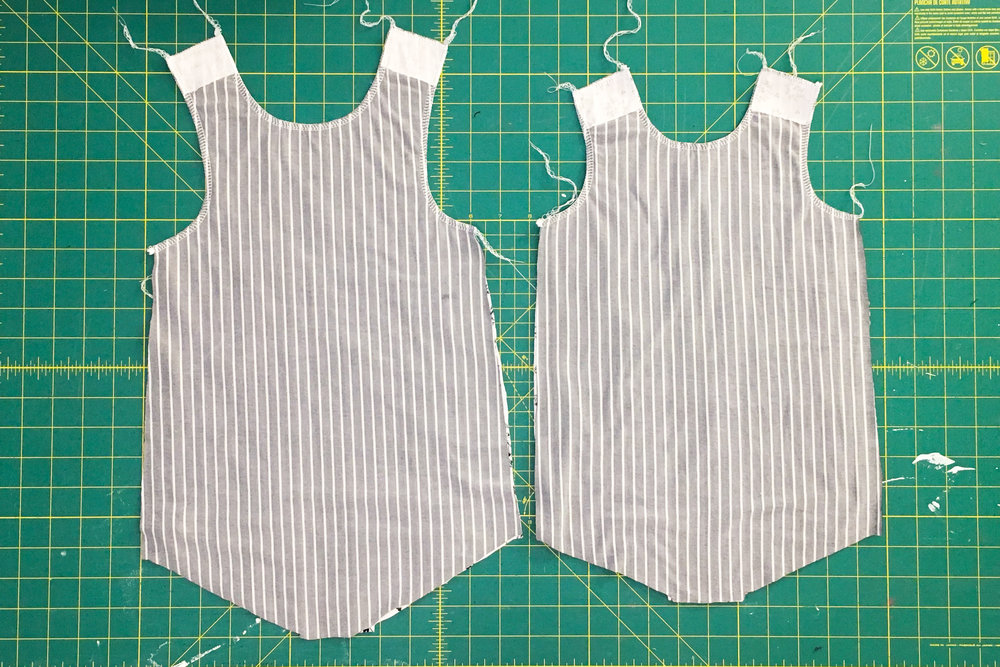
2. We are going to start by sewing the romper like you would normally do in the instructions except you will have 2 full fronts and 2 full back pieces instead of the partial lining. Sewing up the neck/armscyes of the two fronts, right-side together (RST) and the same thing for the back.
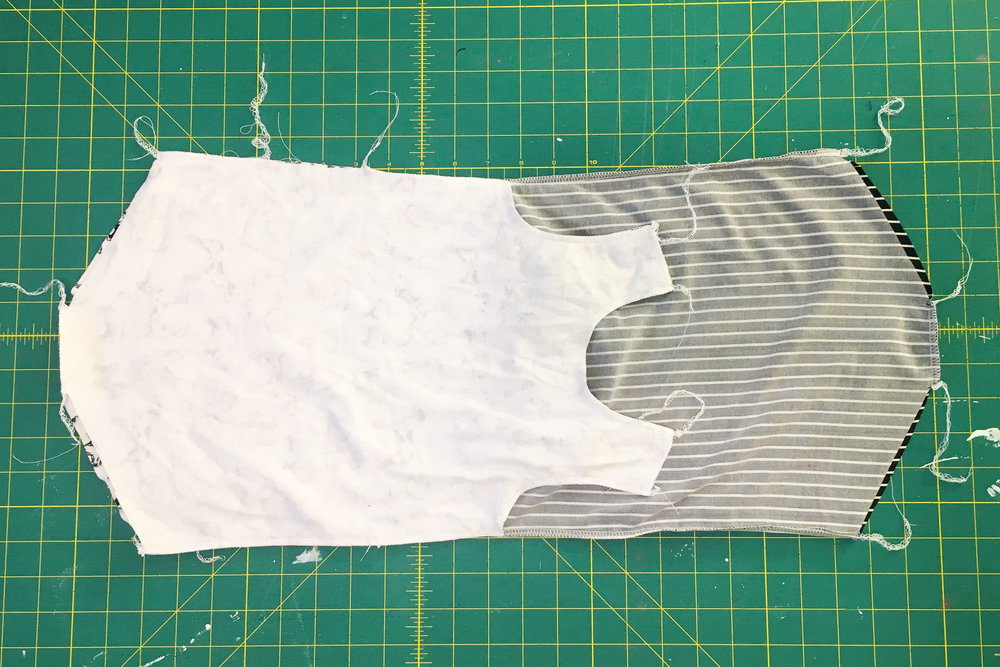
3. Open up your front and back of your romper and match up side seams and crotch of both front/back of main and front/back of lining, RST. Sew with your prefered stretch stitch
You will need to leave a 2.5-3” opening on one of the side seams. This is important so we can turn the romper right-side out. (We will hand-stitch this closed at a later step)
It can be helpful to press the seam allowance open at the opening you made so it’s easier to see where your hand stitching lines/seam allowance will be
4. Sew your leg bands to the Main romper leg openings, RST, keeping everything wrong-side out.
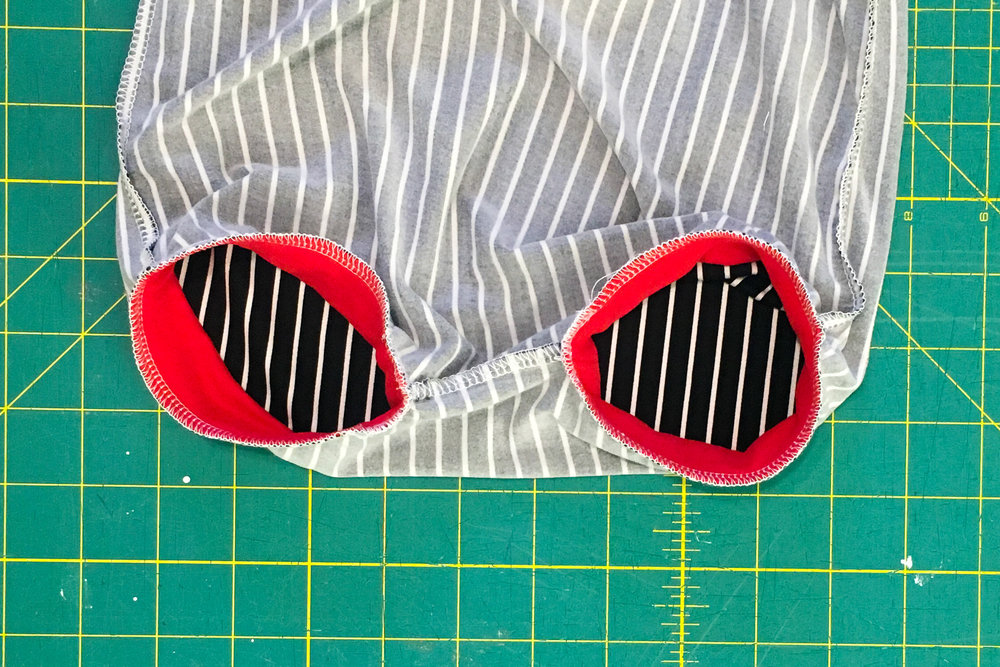
This next part may get a little tricky!
5. Make sure your cuffs are tucked inside the leg opening of the main romper, still RST. You will fold your lining so the leg openings are in line with the leg openings of the main romper. Pin and sew one leg at a time if you are sewing up the harem/bummies hack. (It will make it loads easier, especially on the smaller sizes. Trust me!)
If you are doing the regular harem romper, you should be fine to pin both (if that’s your jam)
If you’ve ever made a lined zip-up jacket, you will be sewing the leg openings similar to how you sew the lining of the sleeve to the main sleeve.
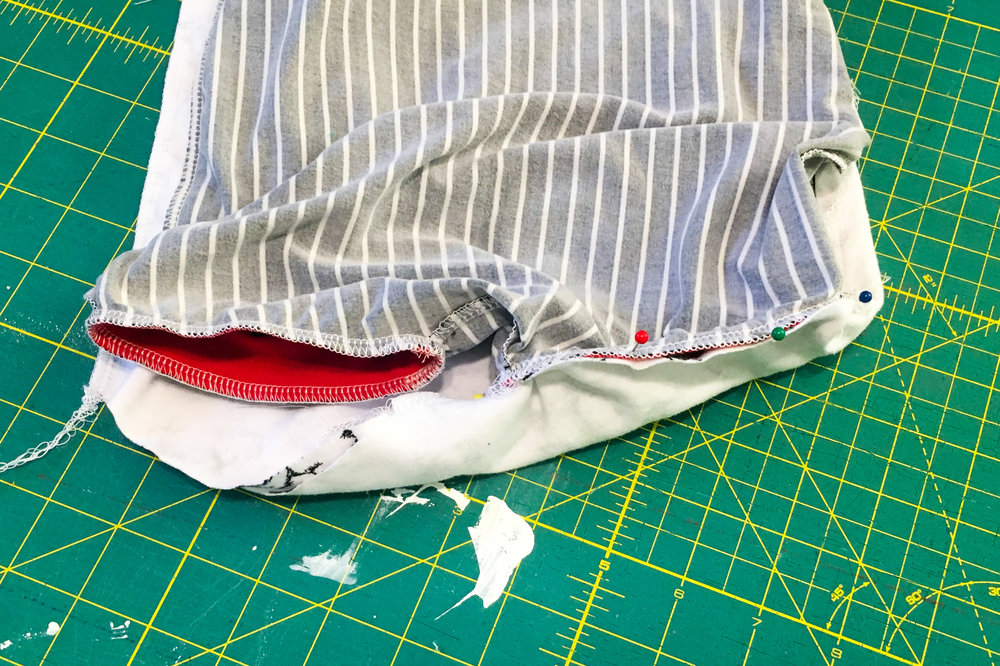
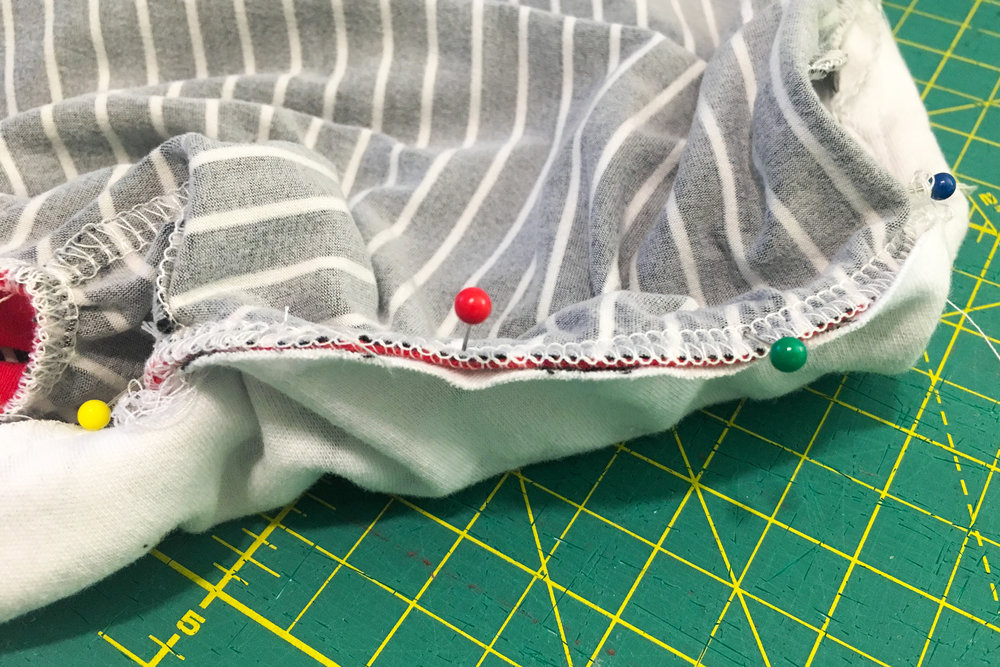
6. With the cuff sandwiched between the main and lining, RST, pin the lining to the cuff opening RST, matching up seams and continue to add a few more pins around the opening, stretching slightly as you go. Stitch over the same stitching from step 4.
If your seam allowance is even a little smaller, your stitches will show through slightly on the lining side. It is helpful to have your previous stitches on top when sewing this step.
7. Repeat for the second leg opening. If you are doing the harem/bummies hack version, make sure you start at the inside crotch seam.
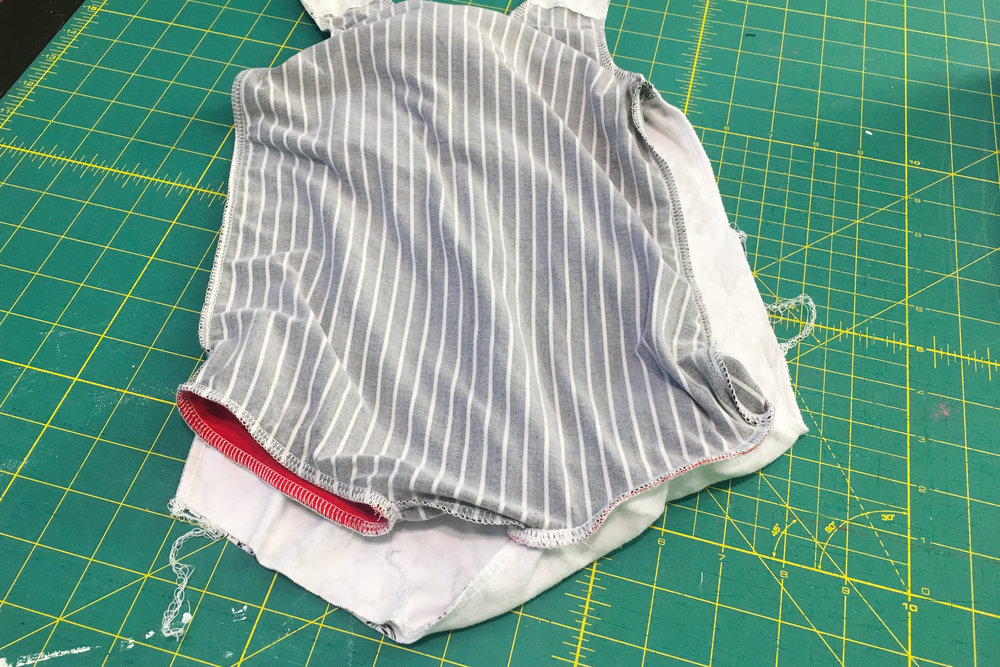
Your romper should now be a tube of sorts.
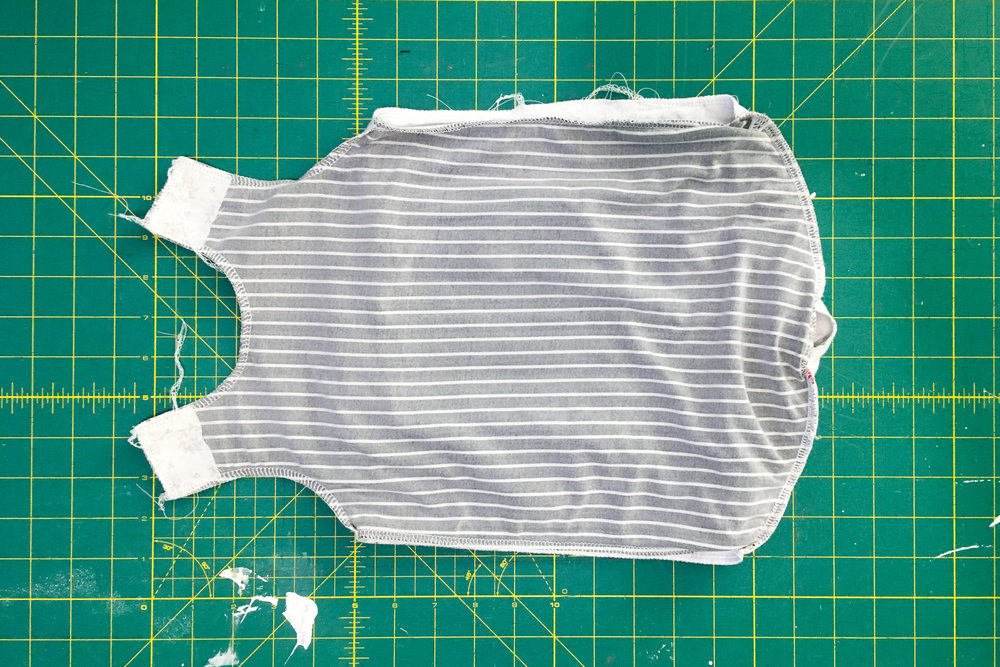
8. Pull your romper right-side out through the hole in the lining. Poke out corners in the shoulders and press well.
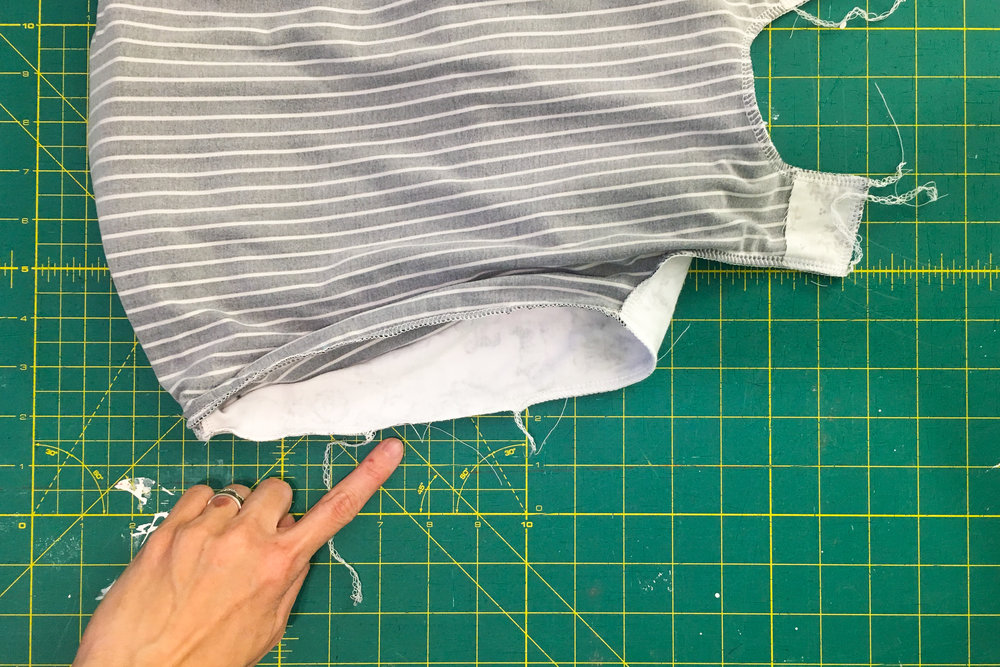
9. Hand stitch your opening closed.
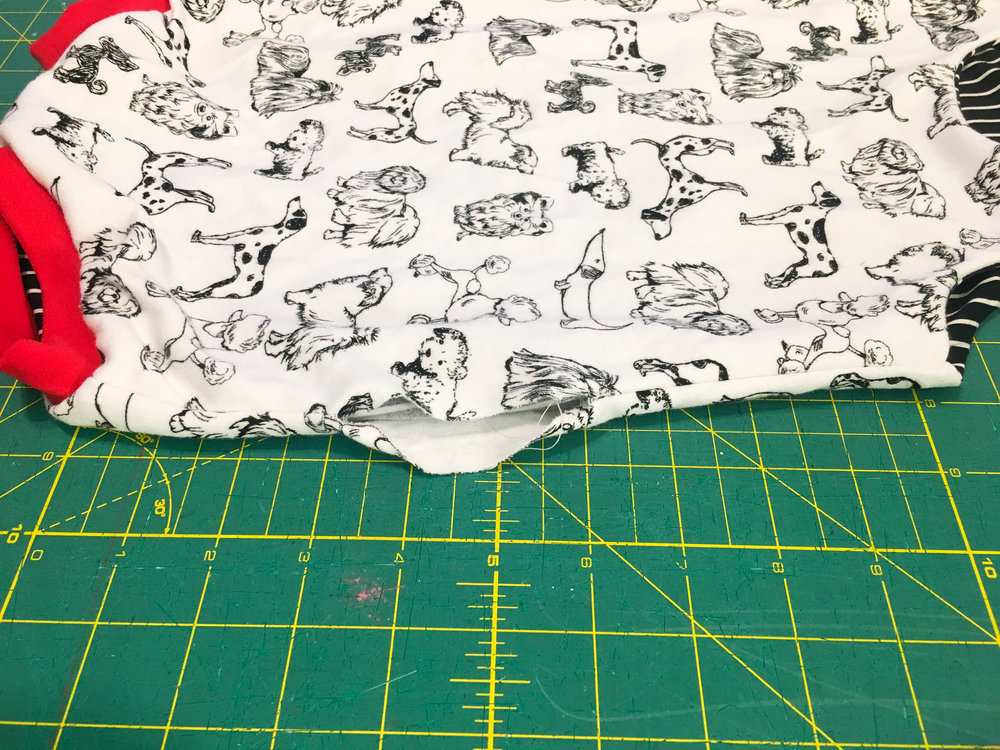
10. Add snaps (you can also topstitch around the straps if you so choose!) and you are done!
Remember that your front and back straps will overlap opposite ways depending on which side is right-side-out. Keep that in mind when adding your snaps.
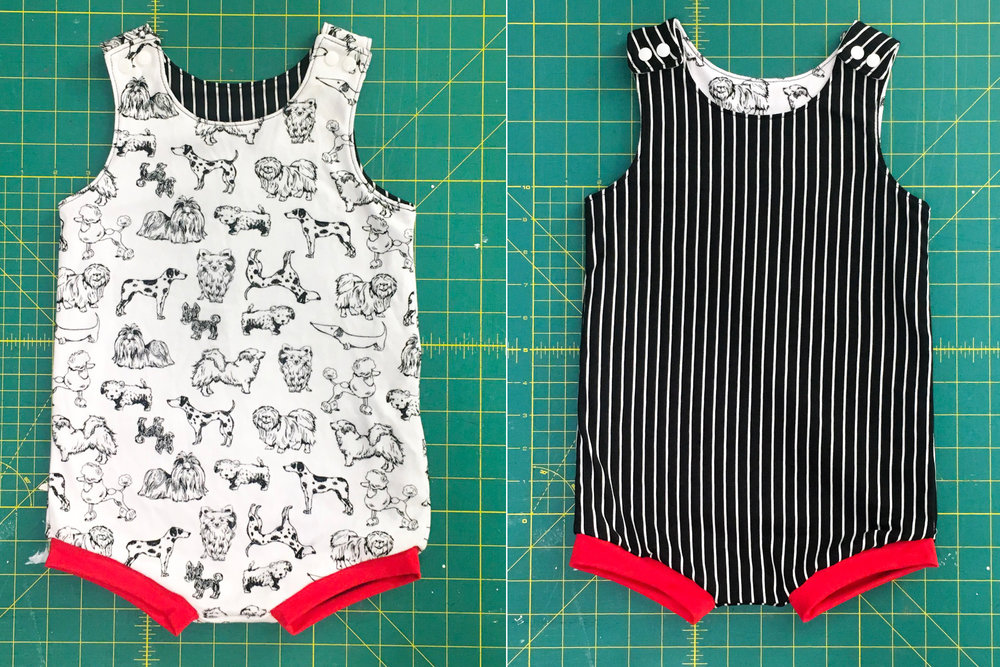
Admire your reversible romper. You did it!




I hope you enjoyed this little tutorial! If you get stuck or have any questions, feel free to leave a comment!
Happy sewing!


You May Also Like

Peace Out Girl Scout, It’s 2020!
January 22, 2020
Rad Patterns – So Over-It-Alls
March 15, 2019
3 Comments
Mo
Love the hack! I cannot wait to try it. Thanks for the detailed instructions.
Trissa Bouwhuis
You are most welcome!! <3
Madison
Hi! Any suggestions for added the snaps between the legs to a reversible romper?